Most people find it to be tricky when they try to establish an online magazine. Even those with sufficient knowledge on this matter still keep on refreshing their skills with […]
Publishing Software – The #1
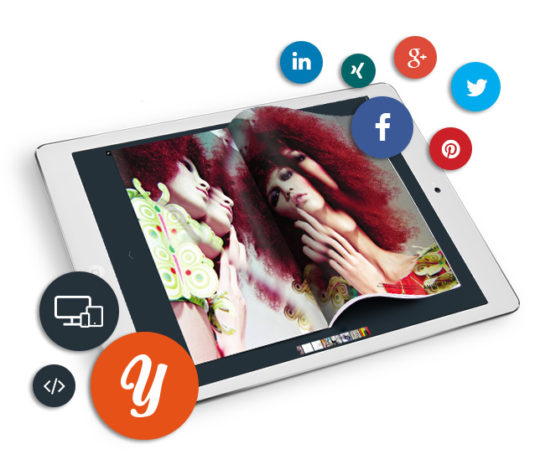
Do you want to know how to create an online magazine that nobody can take their eyes off? I got the answer for you. Yumpu Publishing gives you publishing software […]
Digital magazine creator for teachers
It is empowering to challenge your students to come up with something exciting that they have personally developed. The process isn’t as easy as it sounds. Deciding on the exact […]
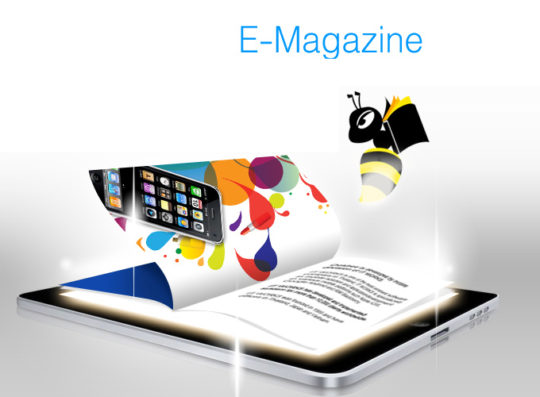
E-magazine software and its Vital features
E-magazine software: An e-magazine or what many call the online magazine is a magazine that is accessed from the internet. Some of these magazines that we get via the World […]

How to Create an Online Magazine Instantly
How to create an online magazine Creating an online magazine requires following a series of coordinated steps that can help you develop a professional finished product. An electronic magazine differs from […]
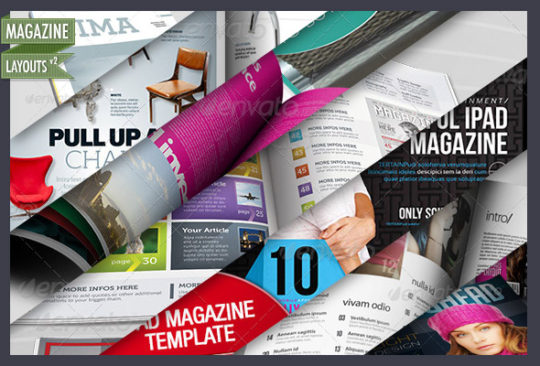
Creativity with magazine layout software
The online publishing Presently, the technology world has spread easily and comfort in all fields of life. The publication is of those fields of life. Particularly with the invention of […]
Starting an online magazine is very easy
Today the world has become a global village, a place of global information at the fingertips, So starting an online magazine can help one not only share one’s ideas and visions but […]
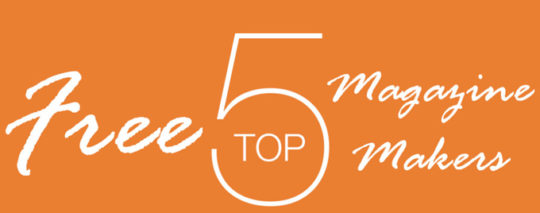
Five of the free magazine maker
There are a lot of free magazine maker softwares in the market and it’s very difficult to choose among them. So, here today we are going to tell you about […]
Advantages of an online magazine template
Online magazine template What is an online magazine template, it is a template for starting an online magazine that is stylish, inspiring, and captivating. It should also be able to create a closer […]
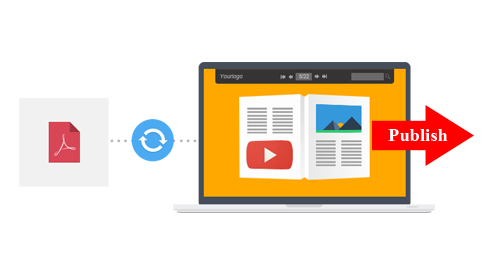
Plan to convert PDF to online magazine PDF
The internet media is being taken over by digital text. We are moving into a new era where advances in technology are being made. The physical magazines that we used […]